

Why Starting Simple Is the Right Move
Hair care content online tends toward extremes — either a ten-step routine with specialized products for every concern, or a minimalist approach that ignores real differences in hair type. Neither extreme helps someone who's genuinely starting from scratch.
The most effective approach is a stripped-back framework you can actually follow consistently, then expand as you learn what your specific hair responds to. Think of it like the logic behind skincare layering — sequence and consistency matter more than product count.
Don't Copy Someone Else's Routine Exactly
Hair care is deeply individual. A routine that transformed a friend's hair may do nothing — or even cause damage — for yours. Factors like porosity, scalp oiliness, curl pattern, and chemical processing history all shape what your hair actually needs. Build from your own hair's signals, not someone else's results.
This guide covers hair care for general grooming and personal wellbeing. If you're experiencing significant hair loss, scalp pain, or changes you find concerning, consult a licensed dermatologist or healthcare provider — those are medical concerns, not routine ones.
What you will need
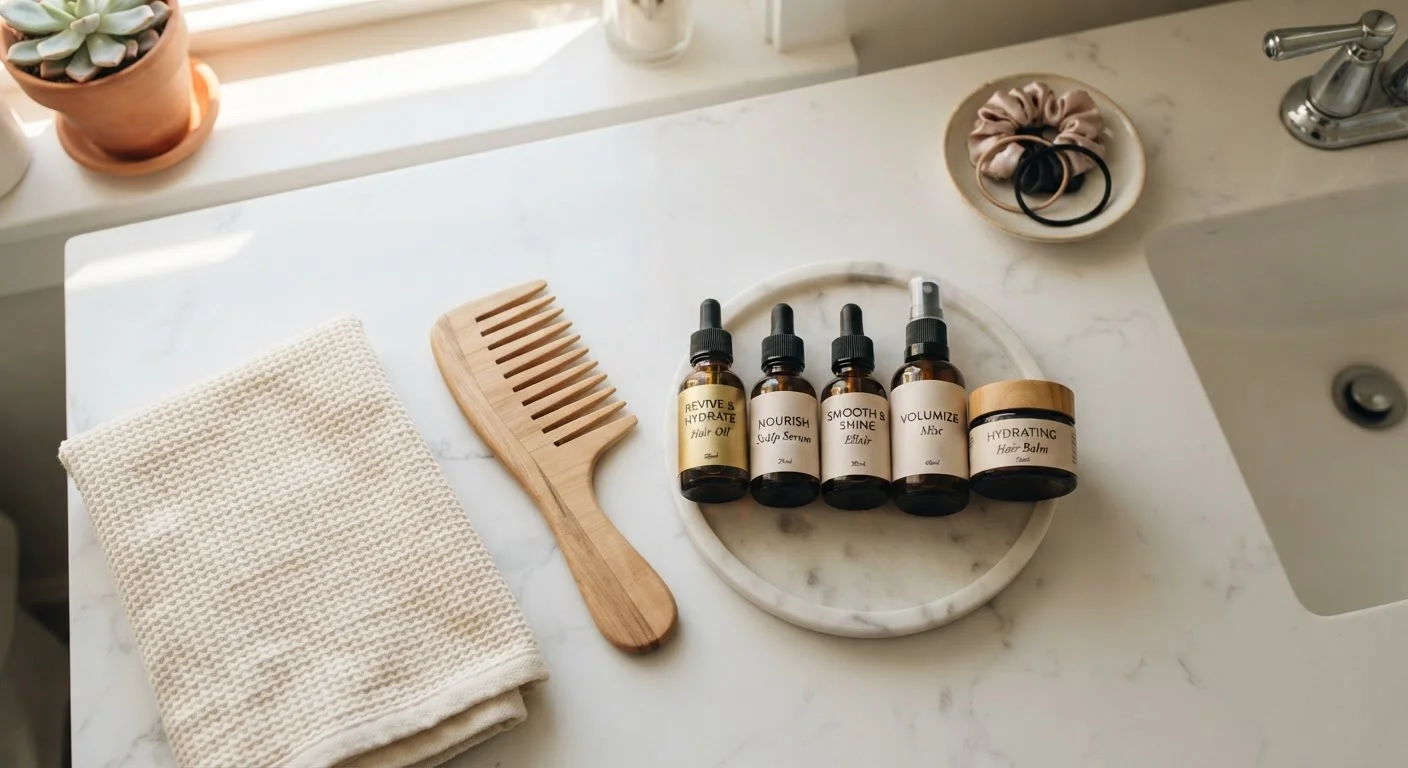
Gather your tools before you begin:
Sulfate-free or clarifying shampoo
Cleanses the scalp and removes buildup without stripping natural oils excessively.
Moisturizing conditioner
Restores softness and slip to strands after cleansing, reducing breakage during detangling.
Wide-tooth comb
Safely detangles wet hair from ends upward, minimizing mechanical breakage.
Leave-in conditioner or hair oil
Provides ongoing moisture retention between wash days, especially for dry or coily textures.
Microfiber towel or cotton T-shirt
Gently absorbs moisture without roughing up the hair cuticle the way terry cloth can.
Deep conditioning mask
Delivers concentrated moisture or protein repair on a weekly or monthly basis as needed.
The Step-by-Step Routine
Follow these steps in order, adjusting the optional elements based on your hair type and lifestyle. You don't need to nail every step perfectly from day one — building the habit matters more than perfection.
Assess your hair type and scalp condition
Before choosing a single product, spend a few days simply observing your hair. Is your scalp oily by day two after washing, or does it stay comfortable for five or six days? Do your strands feel dry and brittle, or soft and elastic when wet? Is your texture straight, wavy, curly, or coily?
These observations tell you more than any quiz. For a deeper breakdown of how texture shapes your needs, see our texture-specific hair care guide.
Decide how often you'll wash
Wash frequency is one of the most misunderstood parts of hair care. Fine or oily hair often benefits from washing every two to three days. Thick, coily, or very dry hair may do best washed once a week or even less frequently. Over-washing strips the scalp of its natural sebum; under-washing allows buildup that blocks moisture.
Start with a frequency that feels manageable and adjust based on how your scalp and strands respond over several weeks.
Cleanse your scalp — not just your hair
Apply shampoo primarily to the scalp and work it in with the pads of your fingers — not your nails. The lather that flows down your strands as you rinse is enough to clean the lengths. Scrubbing the mid-shaft and ends directly can roughen the cuticle and accelerate dryness.
Scalp health is the foundation of strong hair growth, so treat this step as the anchor of your whole routine.
Condition from mid-shaft to ends
After rinsing out shampoo, apply conditioner from roughly ear level to your ends — not directly on the scalp, which can cause greasiness. Let it sit for two to five minutes, then rinse with cool water. Cool water helps close the cuticle, adding a bit of smoothness and shine.
If your hair is very dry, coily, or color-treated, consider a weekly deep conditioning treatment in addition to your regular rinse-out conditioner. This is an optional but high-impact add-on.
Apply leave-in products while hair is damp
If your hair tends toward dryness — especially wavy, curly, coily, or chemically treated textures — applying a lightweight leave-in conditioner or a few drops of a natural oil to damp hair helps seal in moisture before it evaporates. This step is genuinely optional for fine or oily hair types, which may find it adds unwanted weight.
For coily and kinky textures in particular, this step can make a significant difference in softness and manageability. See our natural hair care guide for texture-specific application techniques.
Dry and style with minimal heat
Pat or scrunch hair dry with a microfiber towel or soft cotton T-shirt rather than rubbing vigorously with terry cloth. If you use a blow dryer, apply a heat protectant first and use the lowest effective heat setting. Letting hair air-dry some or most of the way before applying any heat reduces overall damage over time.
Style with whatever tools you use regularly, then leave your hair alone. Repeated touching and reworking throughout the day increases friction and breakage.
Maintain between wash days
Between washes, focus on protecting your hair rather than adding more product. Sleeping on a satin or silk pillowcase (or using a satin bonnet) reduces friction overnight. Loosely braiding or twisting long hair before bed helps prevent tangles. Avoid over-manipulating strands when they're dry, and refresh with a light mist of water and leave-in if needed.
Periodically assess whether your ends need a trim — split ends travel upward and increase breakage over time. At-home trims are possible for some lengths; a professional is the safer choice for precision cuts.
Give New Routines Time to Work
Hair and scalp need roughly four to six weeks to adjust to a new routine. Resist the urge to overhaul everything after one or two washes. Track how your hair feels — not just how it looks — and make one change at a time so you know what's actually helping.
More Products Rarely Means Better Results
Product buildup is a genuine hair concern — it can weigh strands down, block moisture, and irritate the scalp. If you're tempted to layer five products every wash day, pause and start with less. You can always add steps once you understand what your hair responds to.
Once you've settled into this routine, you may want to decode the ingredient labels on your products. Reading a hair product label is a useful next skill that helps you spend smarter and choose more effectively.
The content on this site is for informational purposes only and is not a substitute for professional advice. Always consult a qualified professional for guidance specific to your situation.