

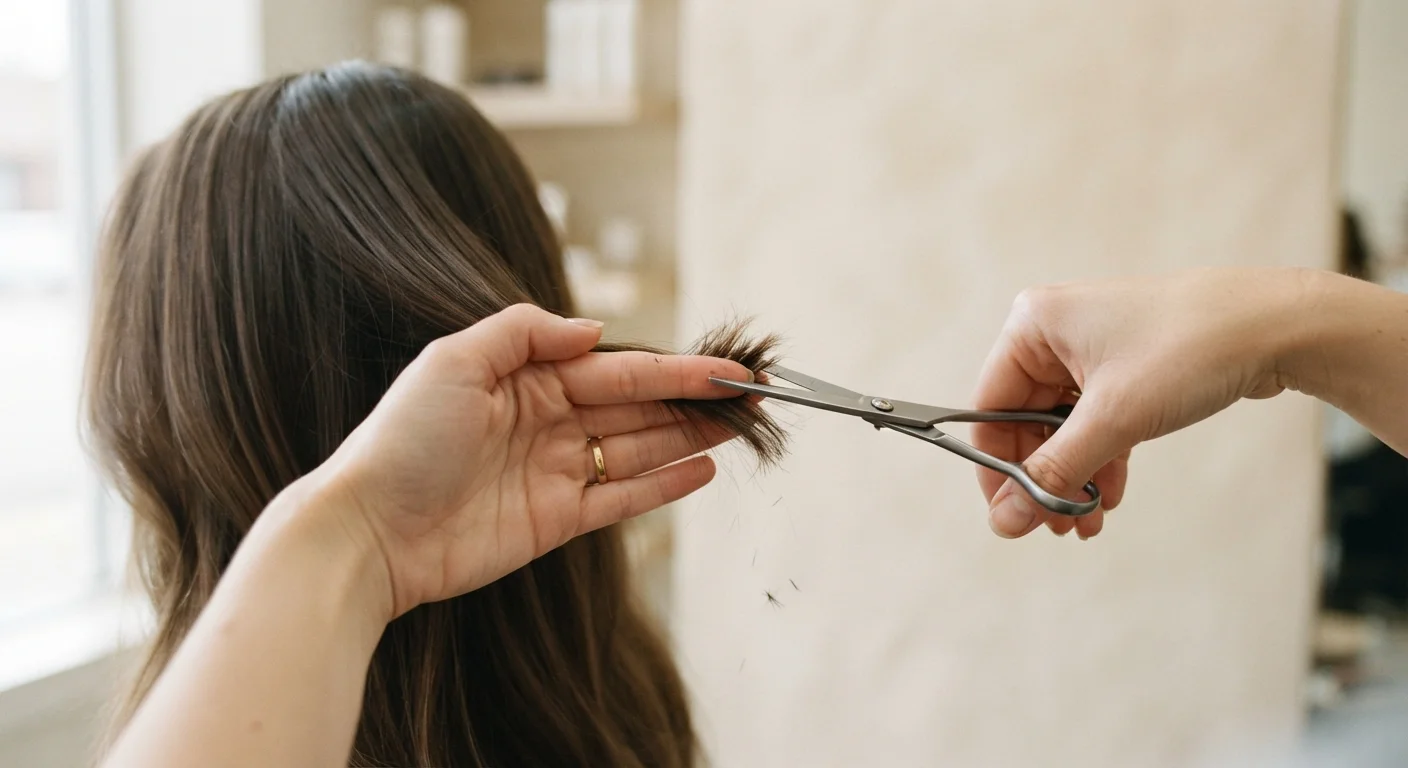
What At-Home Trimming Actually Works For
Maintaining the length you already have is where DIY trimming genuinely shines. Removing split ends, refreshing the bottom line of long hair, or keeping a simple blunt cut from looking overgrown are all well within reach for most people. What falls outside that category: anything involving layers, face-framing, graduation, or precision shape work. These techniques depend on angles, tension, and pattern recognition that are genuinely difficult to execute alone without a mirror behind you and years of repetition in front of you.
Understanding your hair type also shapes what's realistic. Straight hair shows unevenness immediately, so there's less margin for error — but mistakes are also easier to spot and correct. Wavy and curly hair is more forgiving of slight irregularities because the curl pattern absorbs small variations, though the same shrinkage that hides errors also makes it harder to predict finished length. If you're building out a fuller hair care approach, our guide to hair care by hair type covers how texture affects everything from washing frequency to styling.
Hair-cutting scissors
Designed with sharp, precise blades to cut cleanly through hair without crushing or fraying the shaft.
Fine-tooth comb
Used to detangle, section, and guide hair into position for an even cut.
Hair clips or sectioning clips
Keep separated sections out of the way so you work on one manageable portion at a time.
Handheld mirror
Allows you to check the back of your head for evenness alongside a wall-mounted mirror.
Spray bottle with water
Lightly dampens hair if you prefer to work on wet or damp hair for more precision.
The Tools That Make the Difference
You don't need a full salon kit — but the tools you do use matter enormously. Sharp scissors are the non-negotiable starting point. Everything else (clips, a comb, good lighting) supports accuracy and control.
What you will need
Don't Use Kitchen or Craft Scissors
Regular household scissors are not designed for hair and will crush the hair shaft rather than cut cleanly through it. This creates immediate micro-damage and actually accelerates split ends — the exact problem you're trying to fix. Dedicated hair-cutting scissors are a non-negotiable for any home trim, and they're widely available at a range of price points.
One often-overlooked prep step: make sure your scissors are clean and fully dry before starting. Residue from styling products can cause the blades to drag. A quick wipe with a dry cloth before each use keeps them performing consistently.
Step-by-Step: How to Trim Your Hair at Home
Follow these steps in order and resist the urge to rush. The most common at-home trimming mistakes — uneven lengths, too much taken off — happen when people skip steps or work too quickly.
Start with clean, completely dry hair
Wash and fully dry your hair before trimming. Wet hair stretches and appears longer than it actually is, which means you may cut off significantly more length than you intended once it dries and contracts. Work with your hair in its natural state — straight, air-dried, or lightly blown out — so the result reflects how you'll actually wear it.
Section your hair into manageable parts
Use your comb and clips to divide hair into four to six sections depending on thickness. A common approach: part down the center from forehead to nape, then make a horizontal part ear to ear, giving you four quadrants. Clip everything except the section you're actively working on. Working in sections prevents you from accidentally cutting hair you've already trimmed.
Decide exactly how much to remove — then halve it
Hold a small section of hair between your index and middle fingers and slide down to the length you want to remove. Mark that point visually before cutting. A reliable rule: decide how much you want to take off, then cut half that amount on your first pass. You can always trim more; you cannot put length back. For most maintenance trims, removing a quarter to half an inch of split ends is all that's needed.
Cut using small, controlled snips — not one big chop
Point-cut or use small snips rather than one straight horizontal slice. Point-cutting means angling the scissors slightly upward and making small cuts into the ends, which softens the blunt edge and gives a more natural, textured finish. Keep the scissors moving in short controlled strokes. For a blunt trim on long straight hair, horizontal cutting is fine — just ensure your comb guide stays perfectly level.
Check for evenness and make corrections
After completing all sections, let your hair fall naturally and compare both sides. Use your handheld mirror to inspect the back. If you spot uneven spots, take only the longer section down to match — resist the urge to keep trimming both sides, as this leads to the classic "gradually shorter" spiral. Step back and assess with fresh eyes before making any additional cuts.
Trim More Often, Remove Less Each Time
A light dusting every six to eight weeks — removing just a sliver of the ends — is far more manageable than waiting until damage is visible and trying to salvage length. Pair your trim habit with a solid overall routine; our guide to building a hair care routine from scratch can help you structure the bigger picture.
Protecting Your Hair Between Trims
A good trim is only part of the equation. The habits you practice daily have a bigger cumulative impact on hair health than any single scissor session. Rough handling, heat without protection, and certain styling choices all drive the split ends and breakage that make frequent trimming feel necessary in the first place. Our article on grooming habits that quietly damage hair walks through the most common culprits and how to course-correct without overhauling your entire routine.
Scalp health also plays a role that most people underestimate — a balanced scalp environment supports stronger hair growth from the root. See our scalp health basics for a grounded overview of what to watch for.
Know When to Stop and Call a Pro
Bangs, layered cuts, undercuts, and any style involving graduation or texture around the face require technical skill that takes professionals years to develop. If your goal involves a shape change rather than simple length maintenance, booking a salon appointment will save you time, stress, and potentially months of growing out a mistake. At-home trimming works best as maintenance between professional cuts — not as a replacement for them.
The content on this site is for informational purposes only and is not a substitute for professional advice. Always consult a qualified professional for guidance specific to your situation.