

Our Verdict
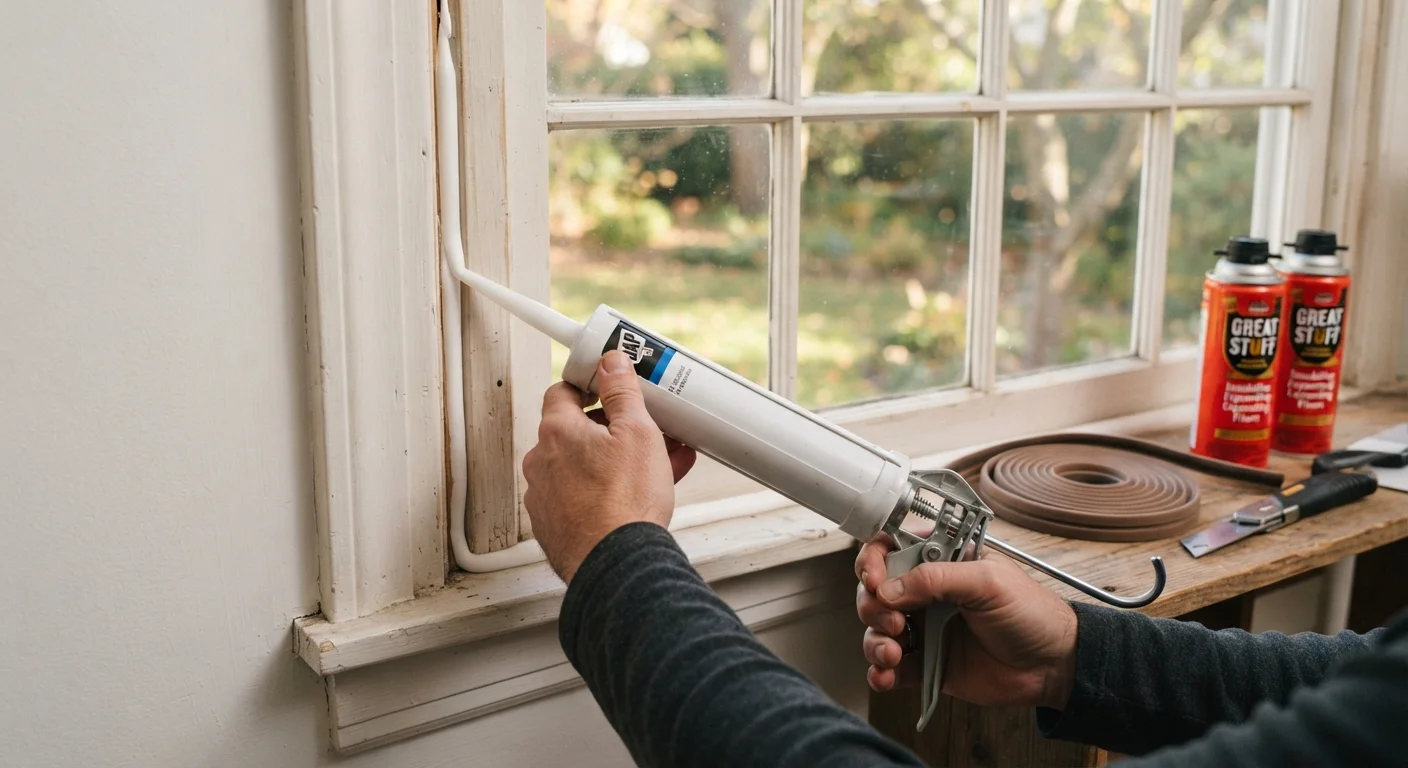
No single material dominates every situation — effective air sealing almost always calls for all three. Caulk handles static gaps, weatherstripping manages moving joints, and foam fills large or irregular voids. Matching the right material to the right location is what determines whether your seal lasts years or fails within a season.
| Best for | Recommended |
|---|---|
| Sealing around fixed trim, pipes, or window frames | Caulk |
| Stopping drafts around doors and operable windows | Weatherstripping |
| Filling large gaps, penetrations, or rim joist cavities | Expanding Foam |
| Whole-home weatherproofing before winter | All three materials used together |
Why Air Sealing Matters More Than Most Homeowners Realize
Air leakage is responsible for a substantial share of heating and cooling loss in typical American homes. According to the U.S. Department of Energy, drafts and uncontrolled air movement can account for 25 to 40 percent of the energy used for heating and cooling. That's not a minor inefficiency — it's a structural problem with a practical fix.
The challenge is that air sealing isn't one task; it's three overlapping ones. Gaps in a home fall into distinct categories — stationary cracks, moving joints, and large irregular voids — and each category calls for a different material. Reaching for the wrong one doesn't just waste money on materials; it means the seal fails early and the draft returns. For a broader seasonal approach, see our full weatherproofing guide covering everything from pipes to attics.
25–40%
Energy lost to air leakage in typical homes
The U.S. Department of Energy estimates that uncontrolled air movement accounts for this share of heating and cooling energy use.
$200–$600
Estimated annual savings from thorough air sealing
ENERGY STAR estimates that sealing and insulating a home can cut energy bills by up to 15 percent, translating to meaningful annual savings for many households.
Caulk: The Go-To for Static Gaps
Caulk is a flexible sealant applied as a paste that cures into a durable bead. It belongs anywhere two stationary surfaces meet but leave a gap — around window and door frames, along baseboards, where pipes or wires penetrate walls, and at the joint between siding and trim.
Silicone caulk is highly flexible and moisture-resistant, making it the standard choice for bathrooms, kitchens, and exterior applications. Latex or acrylic caulk is easier to tool and paint over, which suits interior trim work well. The key limitation: caulk is not designed to handle movement. Applied across a joint that opens and closes — like the edge of a door — it will crack and peel within a season. Keep it on surfaces that stay put.
Always Clean the Surface Before Applying Caulk
Caulk adhesion depends entirely on a clean, dry surface. Remove old caulk completely with a utility knife or caulk remover tool, then wipe the area with a dry cloth before applying a new bead. Applying caulk over dust, moisture, or old residue is one of the most common reasons a seal fails within the first year.
Weatherstripping: Built for Moving Parts
Every door and operable window in your home has a compression joint — a spot where the moving part presses against a stationary frame when closed. That junction is where weatherstripping does its job. Unlike caulk, weatherstripping is engineered to compress repeatedly without losing its sealing ability.
Common types include foam tape (affordable and easy to install, but shorter-lived), V-strip or tension seal (durable and good for the sides of doors and windows), door sweeps (installed at the bottom of exterior doors to block the gap at the threshold), and bulb or compression seals (excellent for irregular gaps on older doors). The right choice depends on the size of the gap and how much compression the joint will experience. For deeper guidance on keeping moving parts in good shape year-round, see window and door maintenance through the seasons.
Expanding Foam: For Gaps Too Large for the Others
Spray polyurethane foam — available in small cans at any hardware store — handles the jobs caulk and weatherstripping can't. It's the right choice for gaps wider than about half an inch, irregular cavities around pipes and conduit, rim joist cavities in basements, and spaces between rough framing and window or door frames during installation.
Foam expands significantly after application. Low-expansion or minimal-expanding foam is strongly preferred around window and door frames, since standard high-expansion foam can bow the frame and prevent proper operation. Always read the label. Foam is also useful in attic bypasses — gaps where interior wall cavities open into the attic — which are a major source of heat loss. If you're addressing attic performance more broadly, see how attic ventilation and insulation work together.
| Caulk | Weatherstripping | Expanding Foam | |
|---|---|---|---|
| Best application | Static gaps and cracks | Moving door/window joints | Large or irregular voids |
| Handles movement | No — cracks under flex | Yes — designed for it | No — rigid when cured |
| Ease of application | Moderate — requires tooling | Easy to moderate | Easy — but messy |
| Typical lifespan | 5–10+ years (if static) | 2–5 years depending on type | Decades if undisturbed |
| Paintable | Latex yes, silicone no | Generally no | Some types, when trimmed |
| Risk of misuse | Fails if applied to moving joints | Ineffective on large gaps | Expansion can bow frames |
Avoid High-Expansion Foam Near Window Frames
Standard expanding foam can generate significant pressure as it cures. Applied in a window or door rough opening, it can bow the frame enough to prevent the sash or door from closing properly. Always use foam labeled 'minimal expanding' or 'low pressure' around frames. When in doubt, caulk is the safer choice for narrower gaps in these locations.
Using All Three Together Effectively
A well-sealed home uses all three materials in their appropriate roles. A typical exterior door, for example, may need caulk around the exterior frame where it meets siding, weatherstripping along the door stop and threshold, and foam filling any gap between the rough framing and the finished frame — three materials, three different joints, one complete assembly.
Start by walking your home systematically — interior and exterior — looking for daylight, feeling for drafts on windy days, or using a lit incense stick near suspected gaps to watch smoke movement. Prioritize exterior-facing penetrations, basement rim joists, and attic access points, as these tend to be the highest-impact locations. The same inspection discipline that protects a home from air leaks applies to other envelope systems too: see how seal failures escalate in RVs for a useful parallel on what missed gaps cost over time.
This article is for general informational purposes only. Always verify local building codes and, for work involving structural, electrical, or gas components, consult a licensed professional.
The content on this site is for informational purposes only and is not a substitute for professional advice. Always consult a qualified professional for guidance specific to your situation.