

Why Fall Is the Right Time to Weatherproof
Waiting until temperatures drop to address gaps, leaks, and failing insulation almost always costs more — in energy bills, emergency service calls, and repair bills — than preventing the problem in autumn. Heating accounts for a substantial share of home energy use in colder climates, and air leaks around windows, doors, and penetrations are a major driver of wasted energy.
Weatherproofing isn't a single task; it's a coordinated set of inspections and small repairs across several systems. The steps below are organized by area of the home and designed to be completed in a weekend, though the full scope depends on your home's age, size, and condition. For a broader view of upkeep timing throughout the year, see the Seasonal Home Maintenance guide.
What you will need
Tools and Materials You'll Need
Most weatherproofing tasks require only basic materials available at hardware stores. Gather supplies before starting so the work flows efficiently.
Caulk gun and weatherproof caulk
Seals fixed gaps around window and door frames, exterior penetrations, and foundation sills.
Foam weatherstripping tape
Compressible seal applied to moving parts of windows and doors to block drafts.
Foam pipe insulation
Wraps around exposed water supply pipes in unheated spaces to prevent freezing.
Draft snake or door sweep
Blocks cold air infiltration at the base of exterior doors.
Flashlight or headlamp
Illuminates crawl spaces, attic corners, and behind appliances during inspection.
Gutter scoop and garden hose
Removes leaf debris and flushes downspouts to ensure proper drainage before freeze.
Programmable or smart thermostat
Allows precise temperature scheduling to reduce heating costs during unoccupied hours.
Step-by-Step: Weatherproofing Your Home
Work through these steps systematically — exterior sealing first, then mechanical systems, then interior insulation. Each completed step compounds the benefit of the others.
Inspect and seal windows and doors
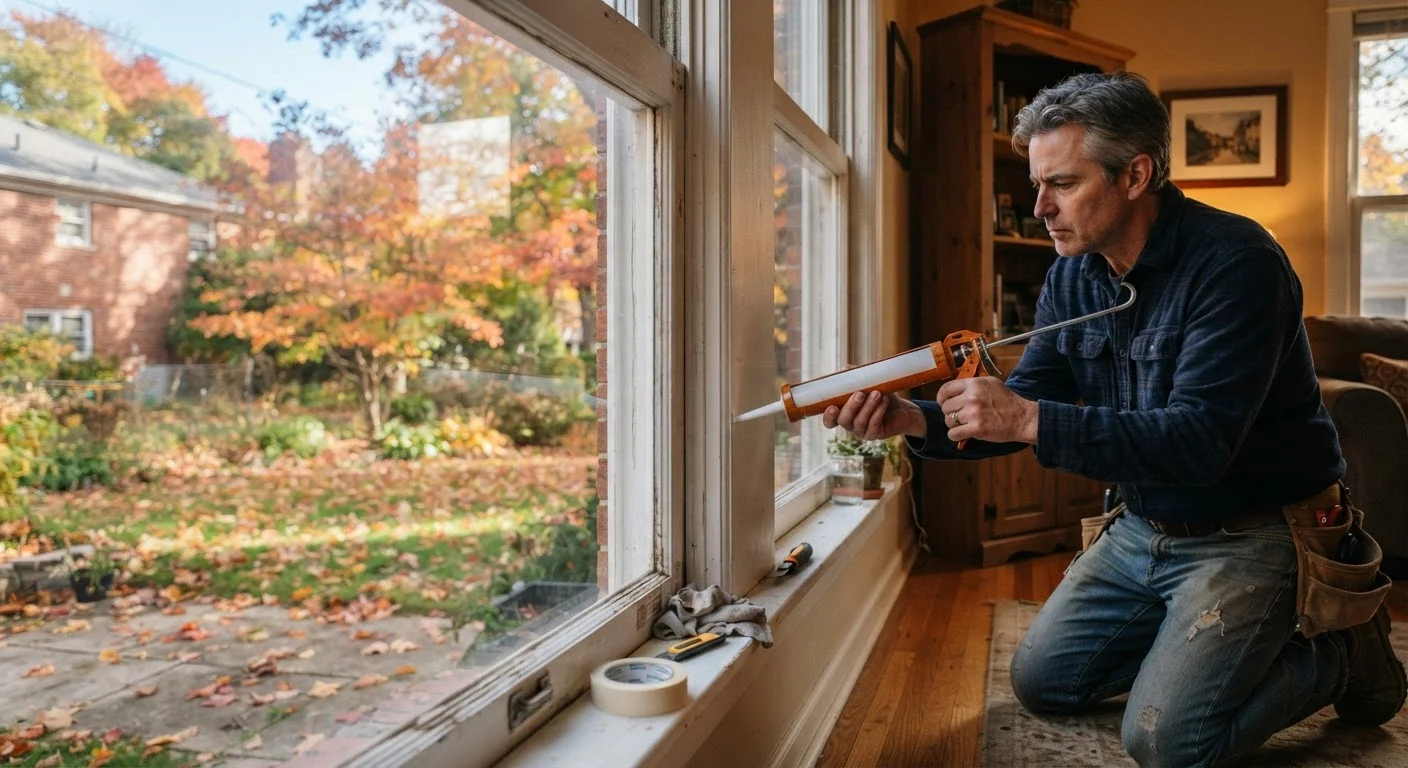
On a windy day, hold your hand near window frames, door frames, and the edges of electrical outlets on exterior walls. Perceptible airflow indicates a gap. Apply fresh caulk to fixed gaps between the frame and wall. Replace worn weatherstripping on operable sashes and door edges. Add a door sweep to any exterior door with visible daylight visible beneath it.
For a deeper look at how windows and doors degrade seasonally, see Window and Door Maintenance Through the Seasons.
Service your heating system
Replace the furnace or heat pump filter — a clogged filter forces the system to work harder and reduces air quality. If your furnace or boiler hasn't been serviced in more than a year, schedule a tune-up with a licensed HVAC technician before the heating season begins. Test your thermostat by calling for heat and confirming warm air reaches each room within a few minutes. Check that all vents and radiators are unobstructed.
Seal attic bypasses and check insulation
Heat rises, and gaps where interior walls meet the attic floor — around recessed lights, plumbing chases, and ceiling penetrations — are significant heat-loss paths. Seal these openings with fire-rated caulk or foam where appropriate. Then assess attic insulation depth: the U.S. Department of Energy publishes recommended insulation levels by climate zone, typically expressed in R-value. If insulation is visibly sparse or compressed, adding material is worth considering.
Insulate and protect exposed pipes
Walk through the basement, crawl space, and garage to identify any water supply pipes running along exterior walls or through unheated spaces. Wrap them with foam pipe insulation, ensuring the seam faces down and joints are taped. Shut off and drain exterior hose bibs. If your home has an older or complex plumbing layout, review the fundamentals of how your system is connected before making any shutoff decisions.
Clean gutters and test downspout drainage
Clear all leaf and debris buildup from gutters, then flush each downspout with a garden hose to confirm water exits freely at the base. Downspouts should direct water at least four to six feet away from the foundation. Check that gutter hangers are secure and that there are no sags where water could pool and freeze.
Test smoke and carbon monoxide detectors
Heating systems and fireplaces that sit idle all summer are common sources of carbon monoxide issues when first fired up. Press the test button on every smoke and carbon monoxide detector. Replace batteries in any unit that uses them. If a detector is more than seven to ten years old, replace the entire unit — sensor sensitivity degrades over time regardless of battery status.
Small Leaks, Large Losses
The cumulative effect of small air leaks throughout a home can be equivalent to leaving a window open year-round. Prioritize sealing over adding insulation if you haven't yet addressed drafts — insulation slows conductive heat loss, but it does little to stop air movement through gaps. A sealed, moderately insulated home typically outperforms a well-insulated but leaky one.
Protect Your Pipes and Plumbing
Frozen pipes are one of the most expensive cold-weather home emergencies. Water expands when it freezes, and the pressure that builds can split copper or plastic pipe — often in a hidden wall cavity. Focus on pipes in unheated spaces: crawl spaces, attics, exterior walls, and garages.
Foam pipe insulation (sometimes called pipe lagging) wraps around supply lines and is inexpensive and easy to cut with scissors. Pay particular attention to pipes near exterior walls. Outdoor hose bibs — the spigots on your home's exterior — should be drained and, where possible, shut off at their interior shutoff valve before freezing temperatures arrive. For a fuller picture of how residential plumbing works and what to watch for, see Plumbing Basics Every Homeowner Should Understand.
Burst Pipes Can Cause Extensive Damage Quickly
A single burst pipe can release hundreds of gallons of water in a short time, damaging floors, walls, and personal property. Homeowner's insurance may cover sudden water damage, but coverage varies and neglected maintenance can complicate claims. Know where your main shutoff valve is before a problem occurs — shutting it quickly is the most important first response to a burst pipe.
Don't Overlook Gutters and the Attic
Clogged gutters trap water that, once frozen, can create ice dams — ridges of ice along the eave that force meltwater back under shingles and into the roof structure. Cleaning gutters in late fall, after most leaves have fallen, is a straightforward task that carries significant protective value. Learn more about how these systems work together in Gutters, Downspouts, and Drainage.
In the attic, adequate insulation is what keeps heat inside living spaces rather than warming the roof deck — which is precisely what causes snow to melt unevenly and form ice dams. If your attic floor insulation is thin or patchy, adding insulation is a project with measurable payback in reduced heating costs. For technical detail on how insulation and ventilation interact, the Attic Ventilation and Insulation guide is a useful resource. Note that some attic work — particularly anything near electrical fixtures or involving structural components — warrants a professional assessment.
This article provides general home maintenance information for educational purposes. Costs, timelines, and results vary depending on your home's construction, location, and condition. For work involving permits, structural elements, electrical systems, or gas lines, consult a licensed professional and verify local code requirements before proceeding. Neglected maintenance can also affect your homeowner's insurance coverage — see Home Maintenance Mistakes That Quietly Void Your Insurance Coverage for more detail.
The content on this site is for informational purposes only and is not a substitute for professional advice. Always consult a qualified professional for guidance specific to your situation.